How to use Salami Casings Banquet Bags
Instructions for use of our amazing Banquet Bag Salami Casings. Making your own Artisan quality Salami at home has never been easier! Includes easy beginner friendly recipe and steps.
MISTY GULLY BANQUET BAG SALAMI CASINGS feature award winning Danish technology that allows for the safest and easiest way for you to create your Salami at home. The material of the casings creates a bond with the natural proteins in meat, allowing for moisture release and oxygen exchange. This unique technology also allows for smoke to permeate the casings while still ensuring the aging process is free from risk of contamination.
Use in the same way you would a fibrous or natural casing, however hang in your refrigerator. No aging/drying room required.
Wholesale banquet bag quantities available for foodservice customers.
Misty Gully Banquet Bag Salami casings feature award-winning Danish technology that allows for the safest and easiest way for you to create your Salami at home. The material of the casings creates a bond with the natural proteins in meat, allowing for moisture release and oxygen exchange. This unique technology also allows for smoke to permeate the casings while still ensuring the aging process is free from the risk of contamination. Use it in the same way you would a fibrous or natural casing, but just hang in your refrigerator. No dry ageing cabinet or room is required.
Step 1 – Sterilise
As always, ensure all equipment, hands and workspaces are thoroughly cleaned and sterile.
Step 2 – Mince and Mix
Ensure your meat is minced and mixed as per your recipe, remembering to keep your mixture as cold as possible (it should be too cold to mix by hand).

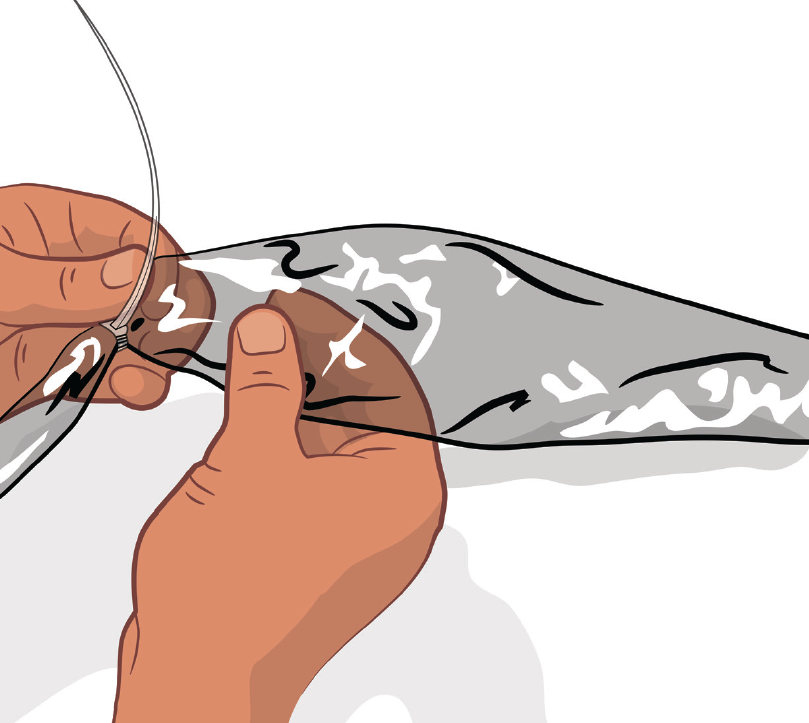
Step 3 – Cut to Size
Open up the Misty Gully Banquet Bag Salami casings and cut to the desired lengths. Tie off one end using the salami ring zip ties (or twine if you prefer).
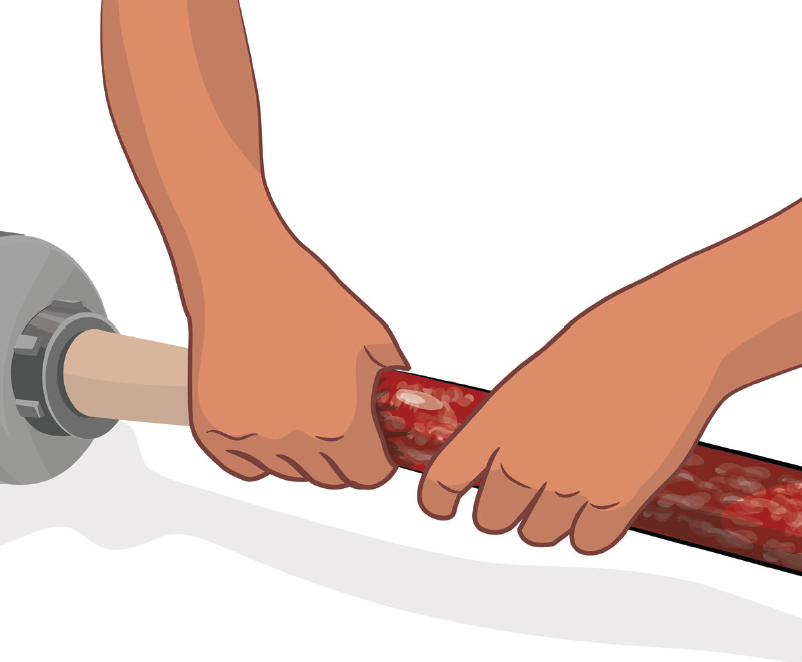
Step 4 – Fill
Fill the casings using a sausage filler. Do your best to ensure there are no air gaps. Fill as completely and fully as possible. If there are small air pockets, do not to prick your Banquet Bag Salami Casings as this may cause mould to develop.
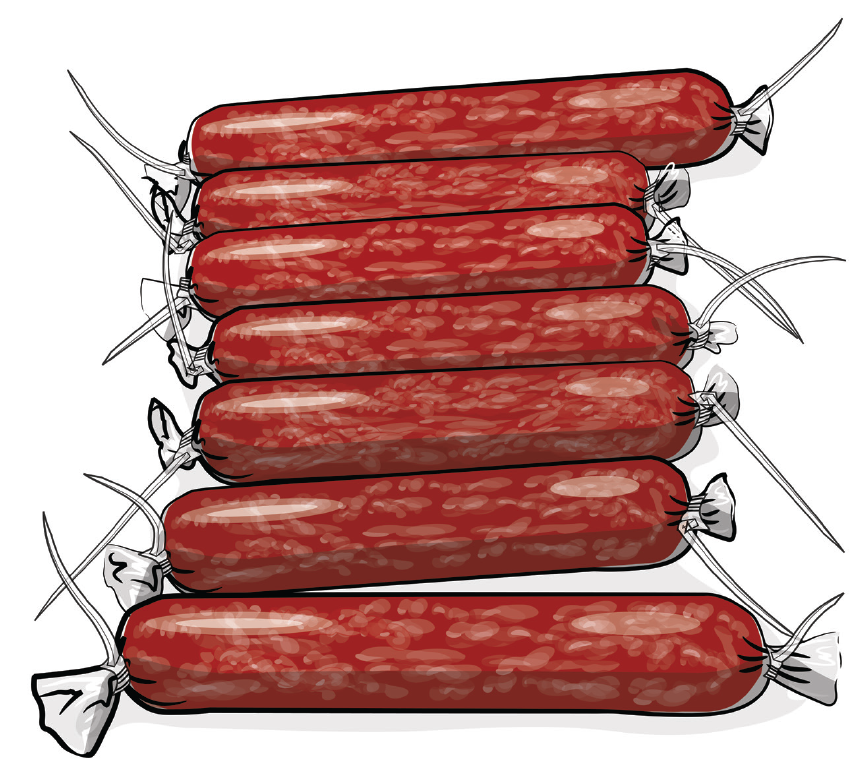
Step 5 – Tie and Weigh
Tie off the other end tightly. Weigh your salami and write down the weight of each sausage. Your salami if now ready for fermentation.
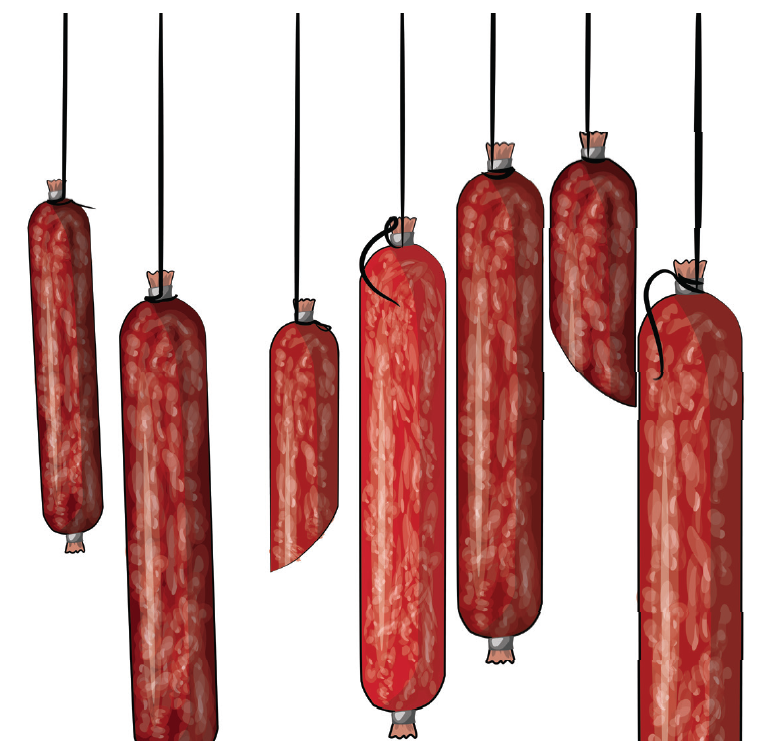
Step 6 – Fermentation
Hang for 3 days in a well-ventilated space. It is important that the air temperature is close to 20 degrees Celsius consistently during this time.
Step 7 – Aging
Your salami is now ready to age in your refrigerator. Hang to ensure each salami is not touching anything else and air can flow around the casings. Your salami will be ready when it has lost 35-40% of its starting weight. Typically, this will take 5-8 weeks.
Note: During the drying process the casing will come away from the meat, this is completely normal as these casings are non-elastic, the salami is still drying safely with no mould inside the banquet bag.
Step 8 – Cut and Store
Once your salami has lost 35-40% of its original weight it will be ready for consumption. Cut away the bag and remove the salami. Slice thinly using a slicer and enjoy your home-made salami! Enjoy making your own salami all year round!